

Gherkin build log
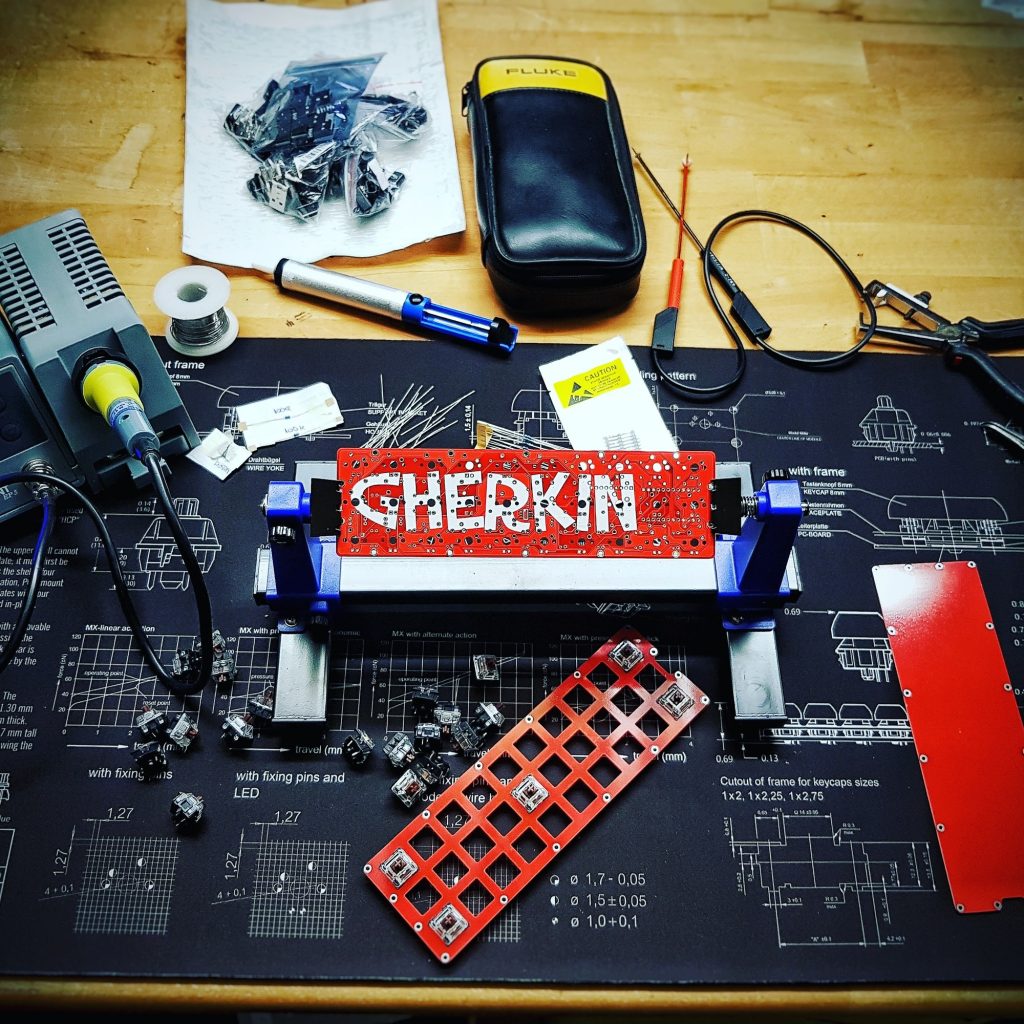
I have recently bought a Gherkin keyboard kit (well pcb + most of the needed components) and have been having a bit of evening fun assembling it. This is a little build log of how I put it all together (it is all pretty simple actually).
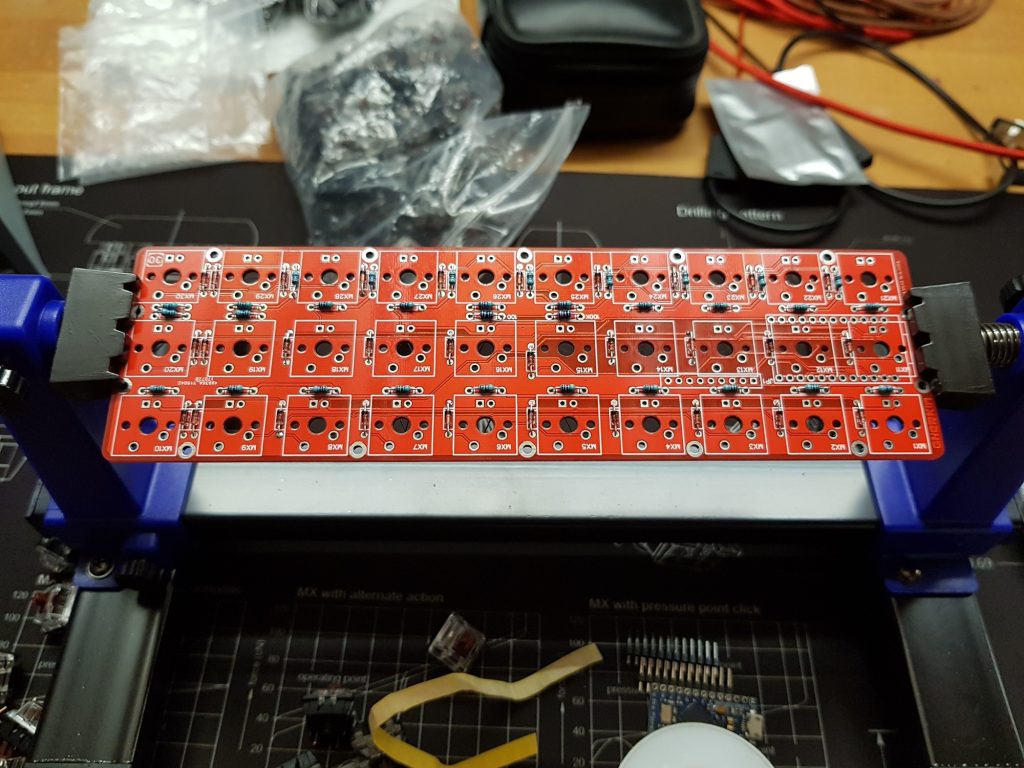
The PCBs are already so well-designed that they have clear markings for where every single component should be placed. The minimum number of components needed are 30 diodes and one Pro Micro. If you want LEDs then I will require 30 470Ohm resistors, a mosfet IC, one 100Ohm + one 100kOhm resistor and of cause 30 LEDs.

The finished product ready for getting the keycaps attached and firmware flashed.
Below are a few glimpses as the work progresses with the board.
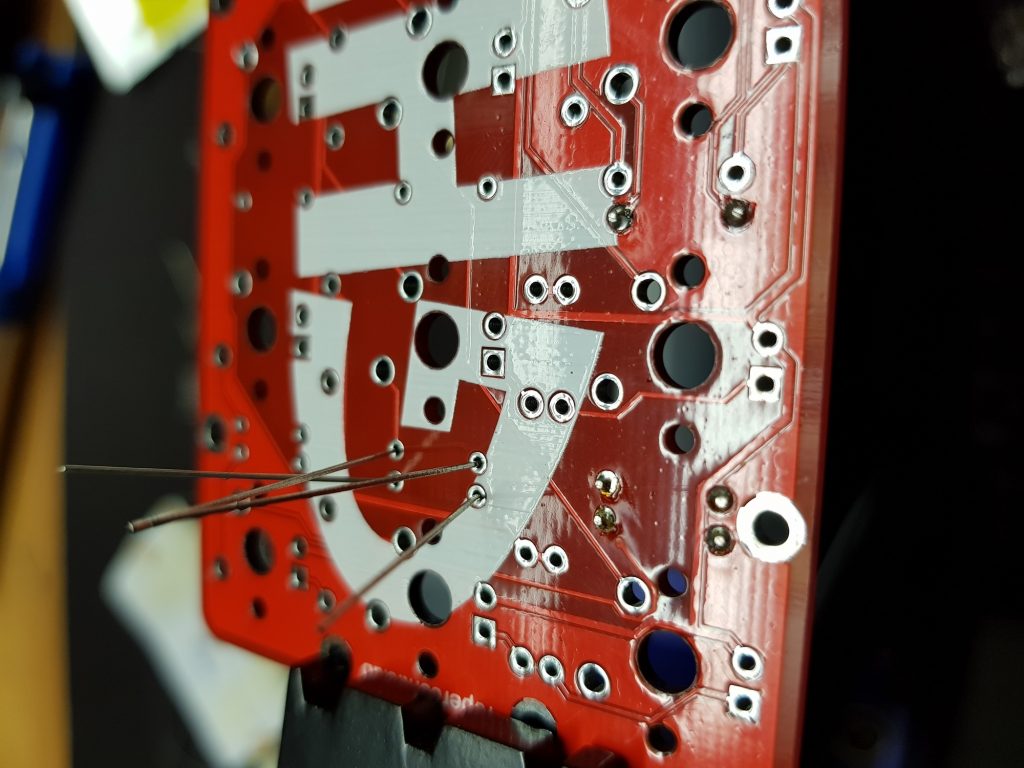
Starting to solder the diodes. Just look for the areas marked with Dx (x being a number)
Firs diodes are added
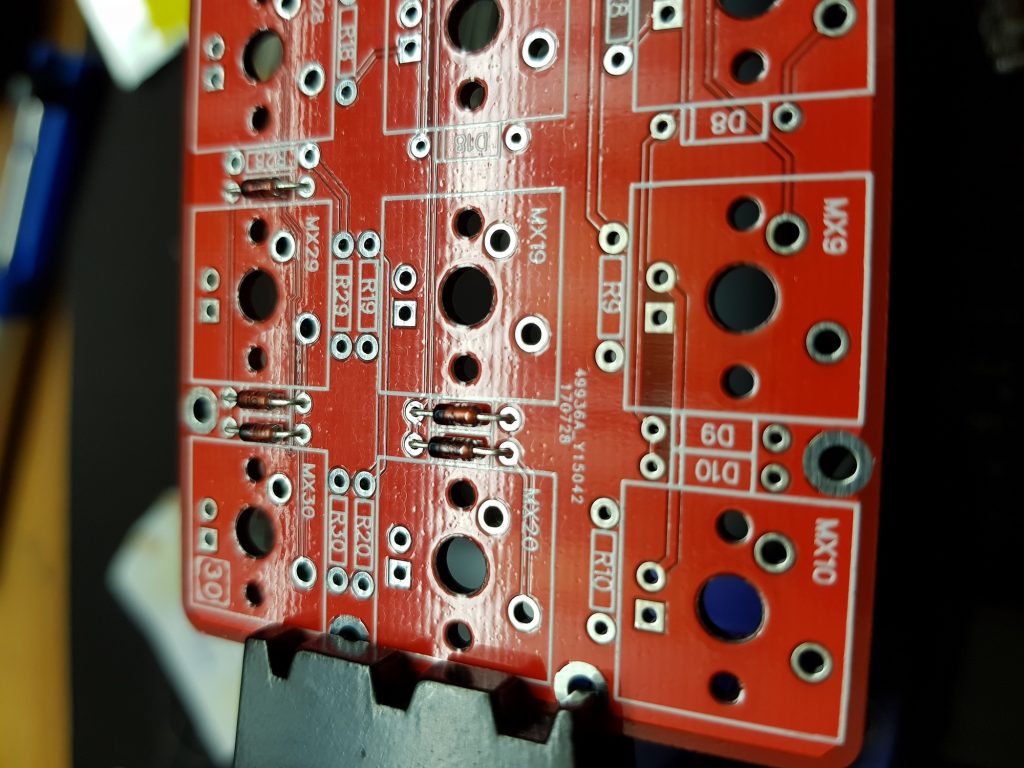
All Diodes are in and the first resistors have been added.
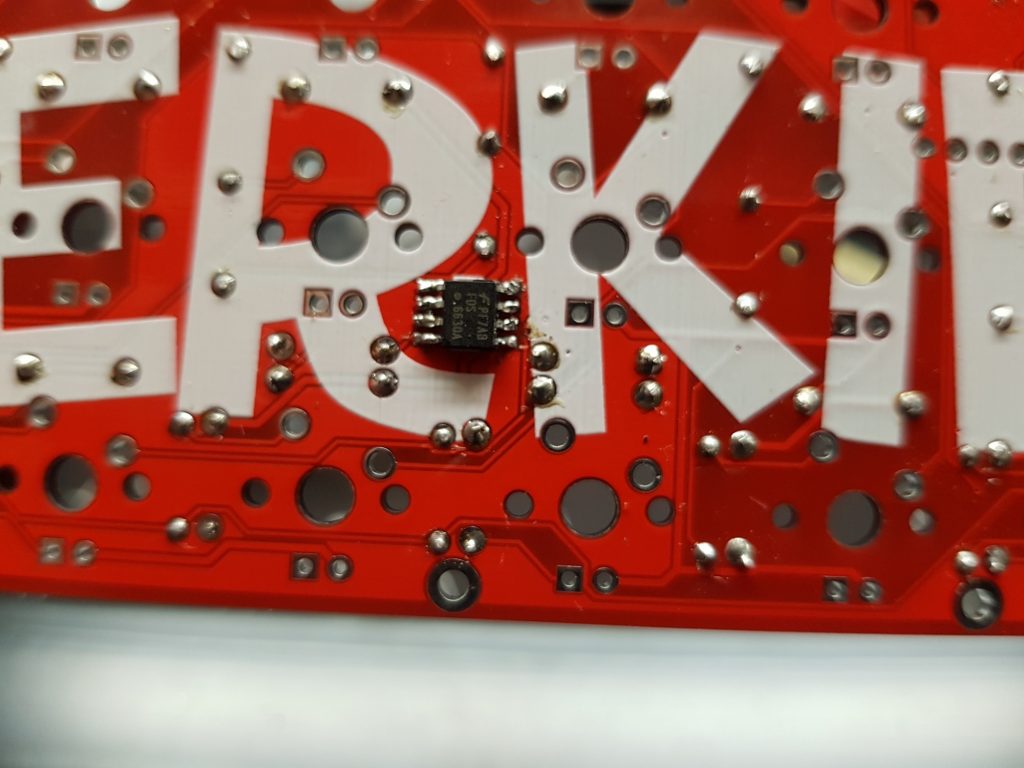
Mosfet IC added to the board.
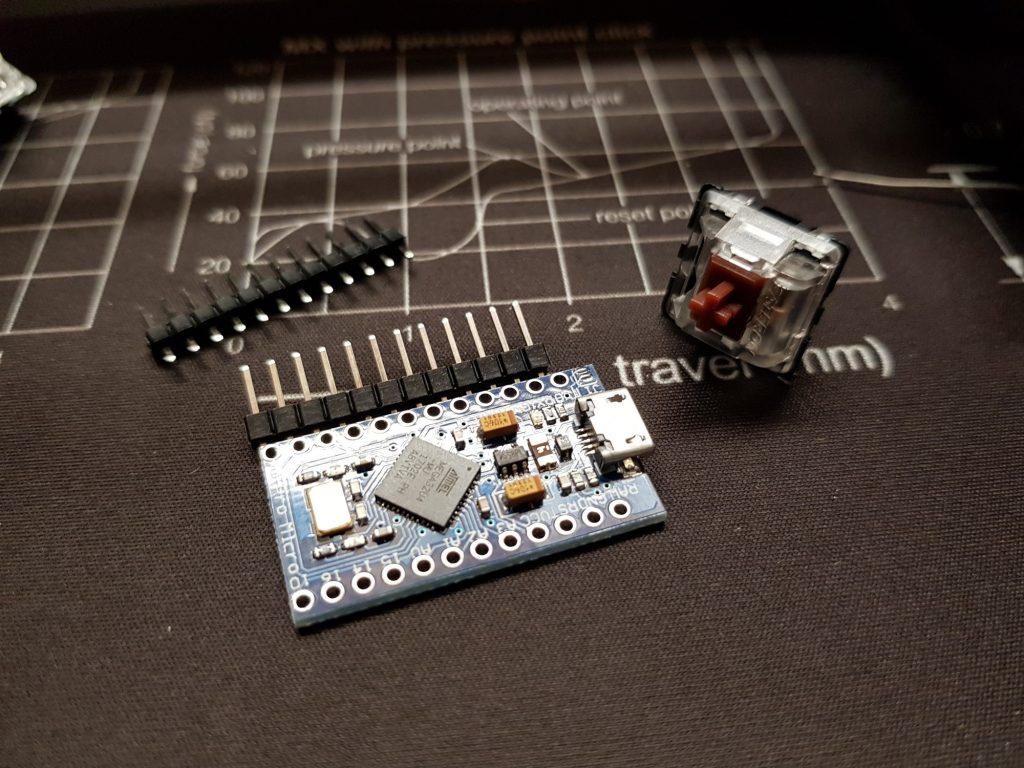
The Pro Micro ready for soldering. The switch is a Gateron Brown which I will use for this board.
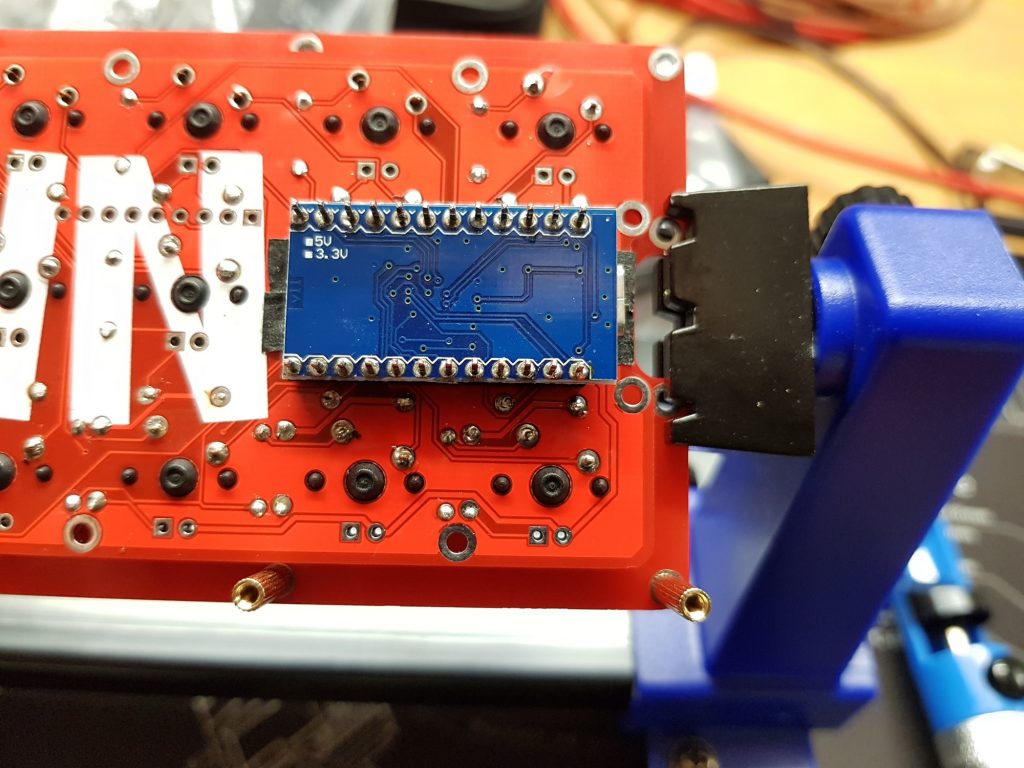
The Pro Micro board soldered on as the final piece before adding the bottom plate

Finished soldering entire Gherkin
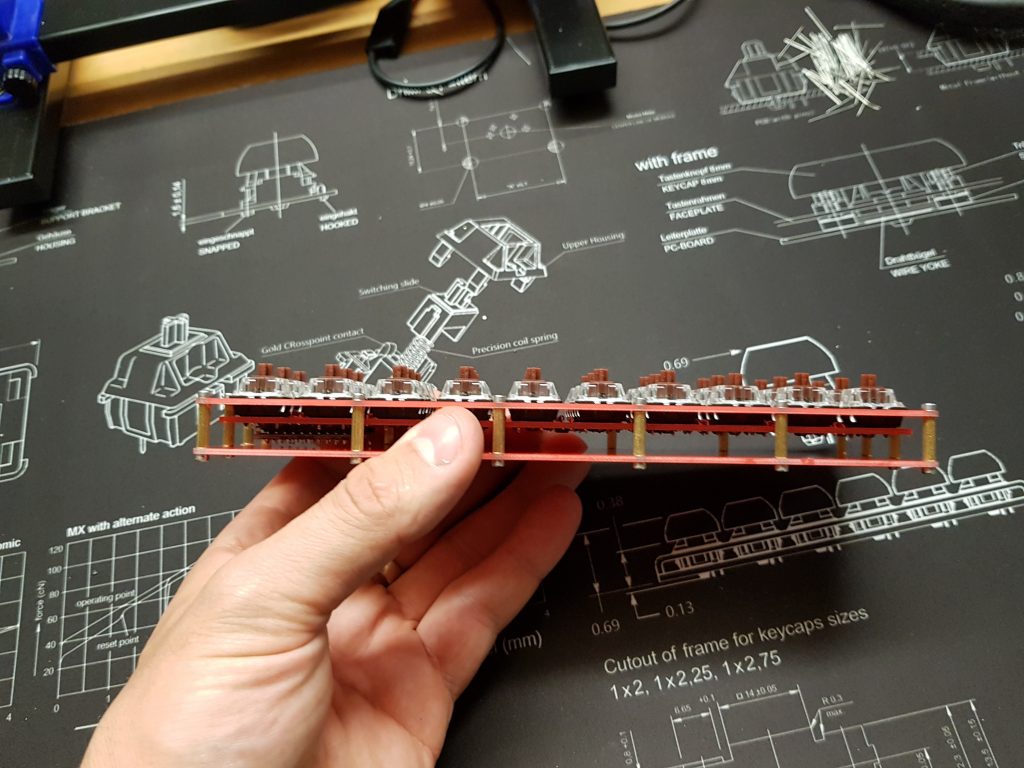
Board fully assembled. Here seen from the side
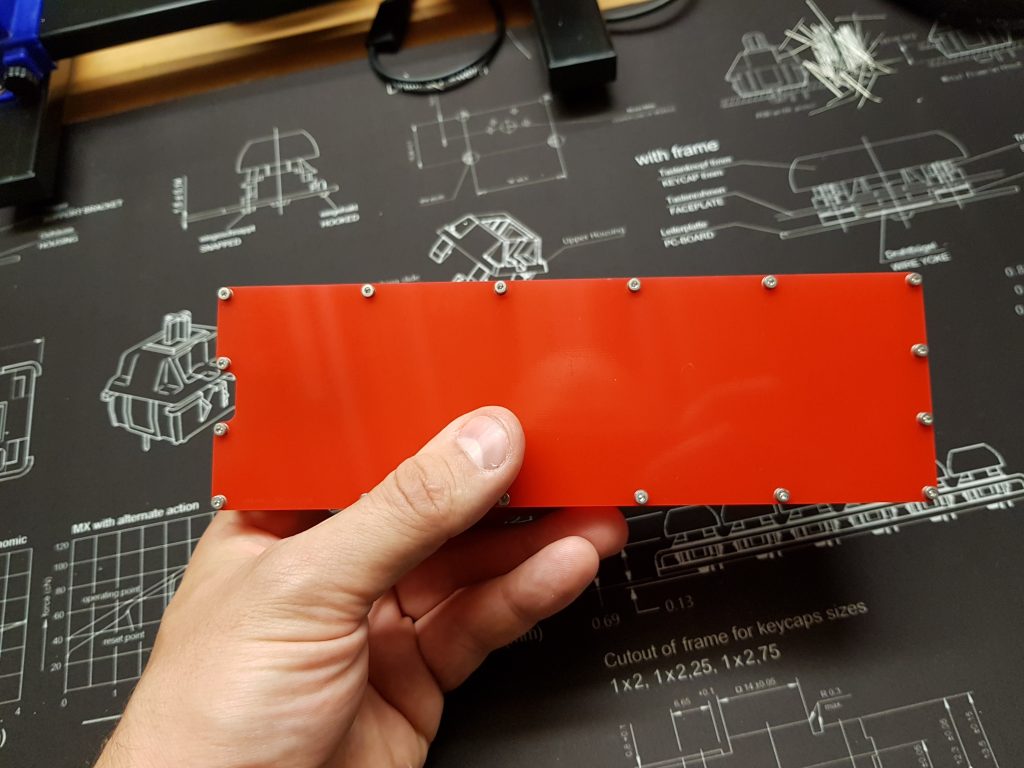
Board, as seen from the back – very nice plate work from 40procent.club
My Gherkin Keymap layout
So having 30 keys makes it very difficult to have access to all the keys you normally use in your daily work. I started making my own keymap with multiple layers using the QMK firmware.
You can find my current keymap work at my GitHub repository.
Normally when flashing my XD75RE or Planck keyboards, then I use dfu-utils. This is easy as I just add -dfu to the end of the make target when building the firmware:
make gherkin-kimusan-dfu
I thought that I could use the same for Gherkin. This didn’t seem to work and I spent quite some time debugging why it did not identify that I had put the board into bootloader mode. Finally, I decided to try a different tool than dfu (I was even getting so desperate that was considering to try in Windows instead of Linux). I tried one that was called avrdude. It is, luckily, included as one of the options in the build system of qmk. This means that I just had to change the word “dfu” to “avrdude” in my build command:
make gherkin-kimusan-avrdude
With this small change it started waiting for the board to go into bootloader mode and as soon as I shorted the reset+ground pins on the Pro Micro, it started to flash the board… It finally worked!
Conclusion
I love this little fun keyboard, but it is more fun to have than to use. One would probably be able to learn how to use it for daily tasks like writing emails, blogging etc. I do however doubt it will be useful for my daily programming tasks. Right now I am considering to find some colorful keycaps for it and give it to my 3year old son so he has a good board for learning the letters.
Final Note
I added the mosfet + resistors for the LEDs but the LEDs themselves are missing (as you can probably see). This is because the LEDs had not arrived by the time where I finished this board.
Unfortunately this also mean that I will have to desolder the Pro Micro when I want to add the LEDs. This is because the solder points for two of the keys are hidden under the microprocessor board.
The board is without a case which makes it more likely to get filled with dust etc. I am currently considering if I should try to make one in wood or maybe LEGO bricks? I have seen others make cases in cork and I considered that as well – ended up deciding to use my cork material for my 25board (split 25key-per-side keyboard). More on that project soon.
